Download the DVD iso from rockylinux. Since DVD iso is the full installation package.
Step01
Mount the iso to the device you want to install rocky linux.
Step02
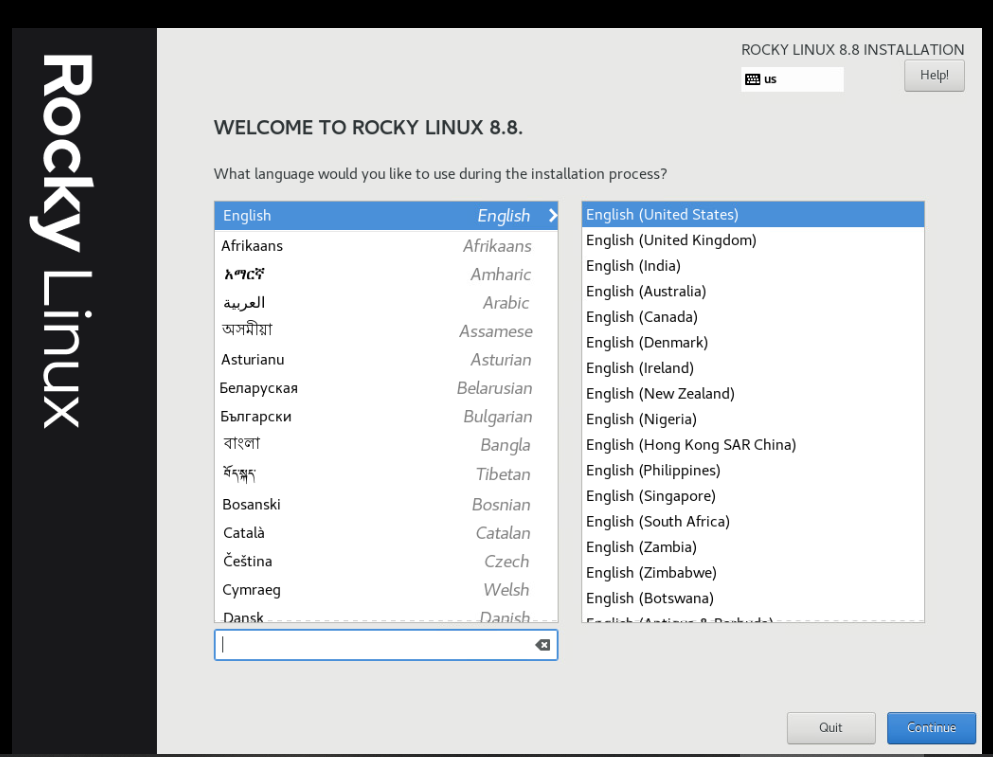
Choose language you would like to use
Step03
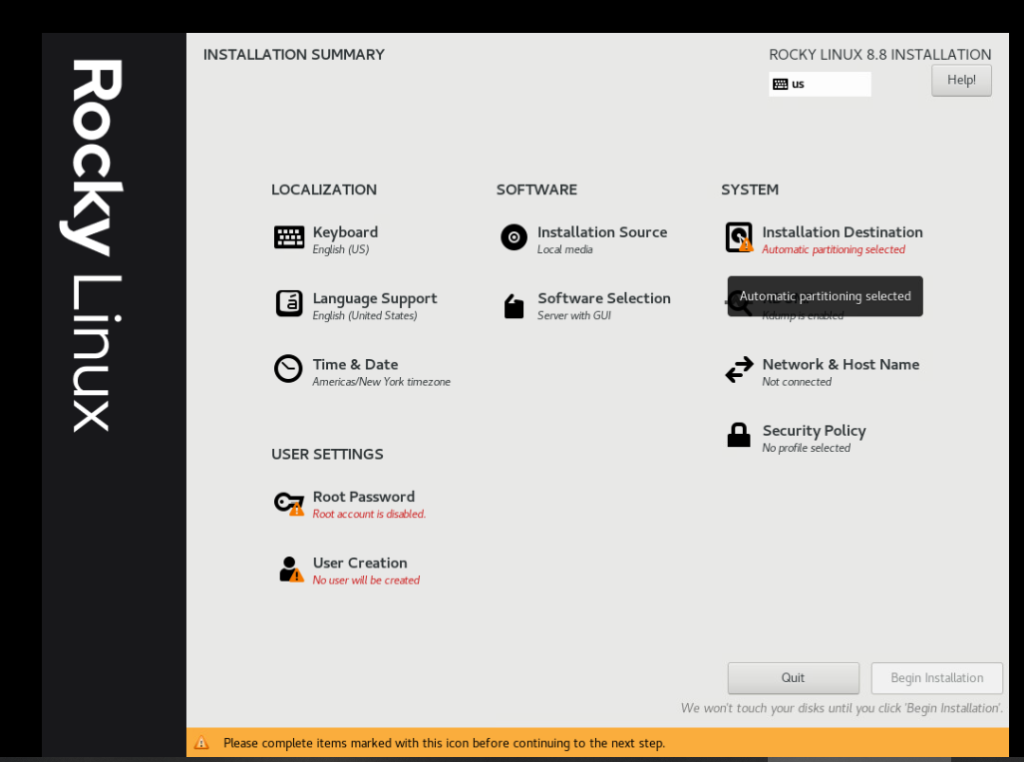
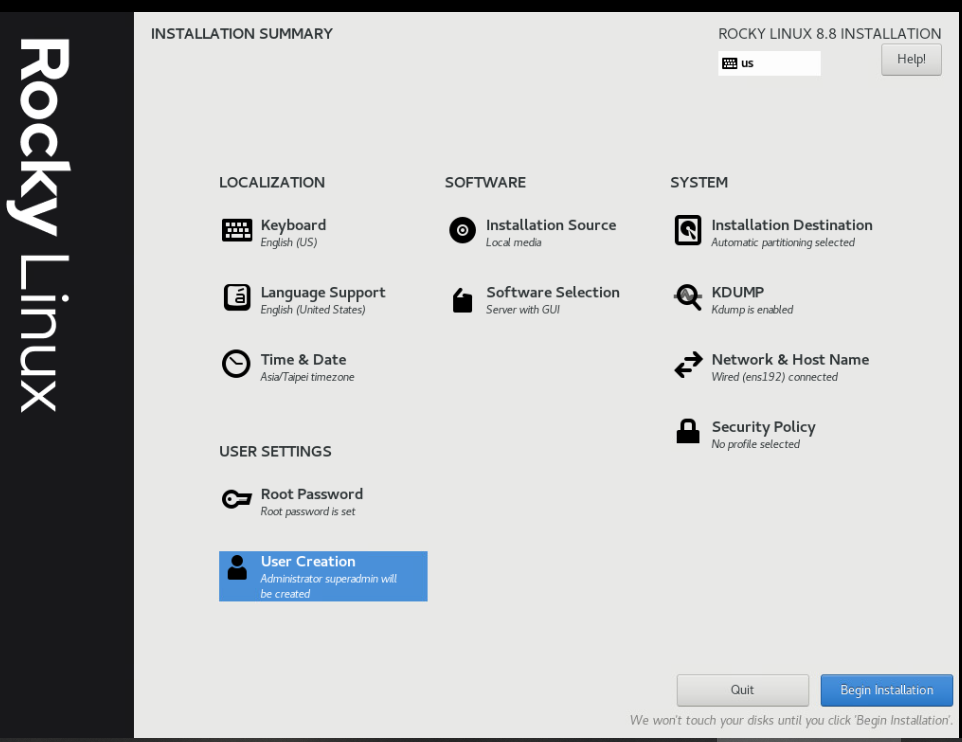
Basic system configuration page (Step 04~08 will refer to this snapshot)
The installation can not continue if you have not configured some basic system information.
Step04
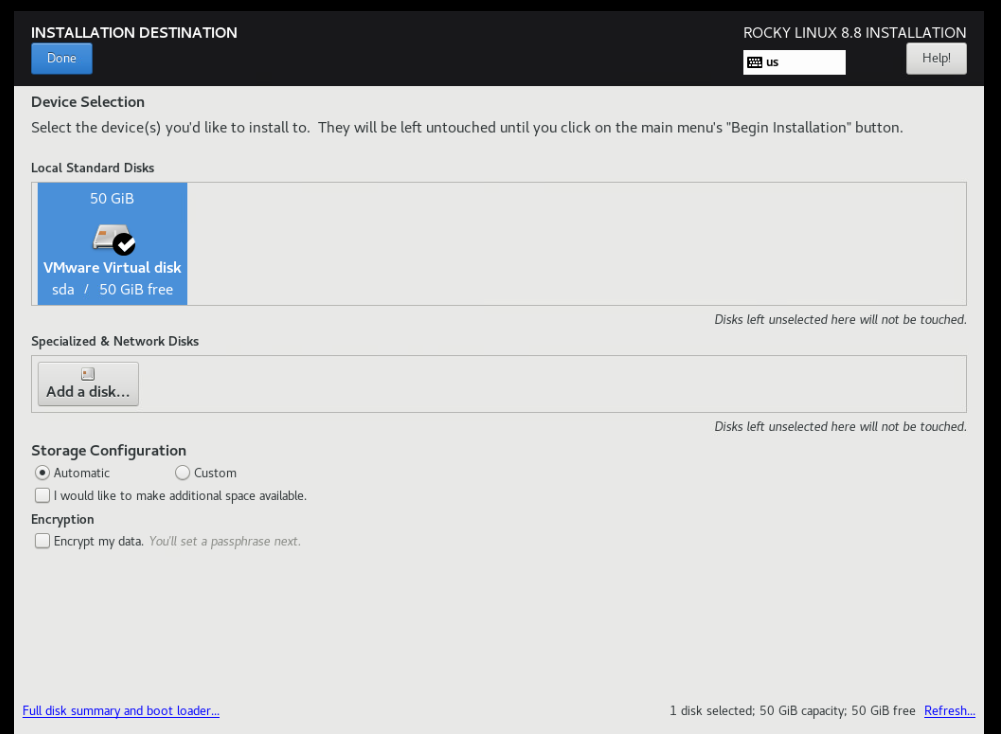
Select installation disk
Click on “Installation Destination” and select the disk you want the system be installed on. After select the disk, click “done”.
Step05
Set Date&Time(TimeZone)
Click on “Time&Date”, and configure your desire timezone. Click “done” when finished.

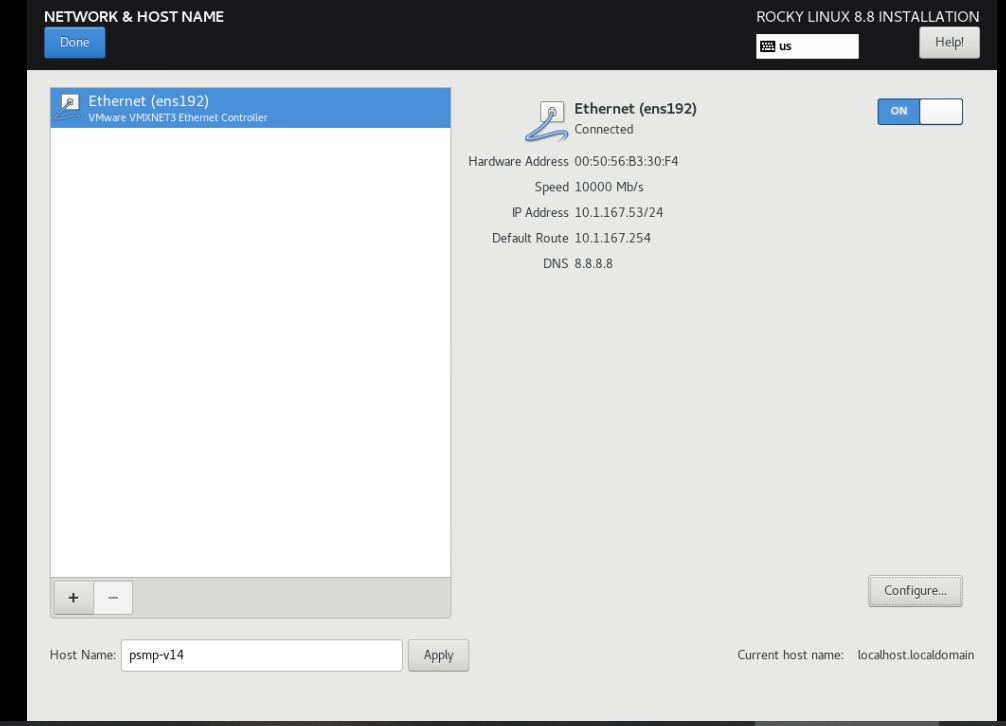
Step06
Set Network&Hostname
Click on “Network&Host name”, then click “configure” on the network card. Set the network information and click save, in the example I’m using static IP. Set the hostname of the system on the bottom left titled “Host Name” and click apply.
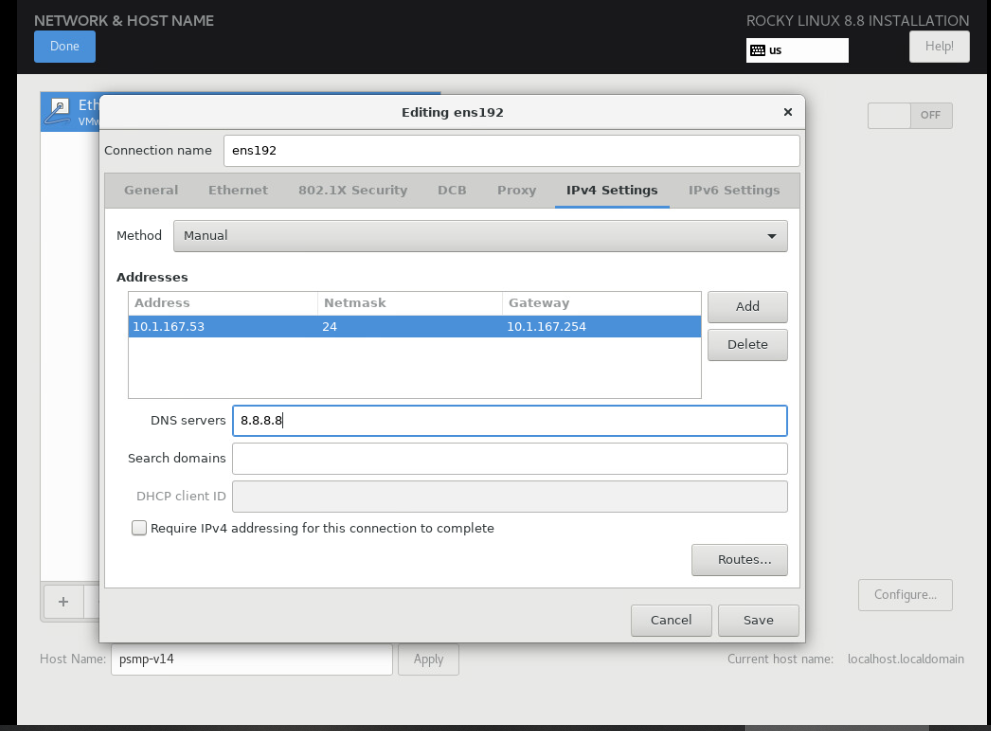
Enable the network card by toggle the switch on the top right to “on” and click “done”.
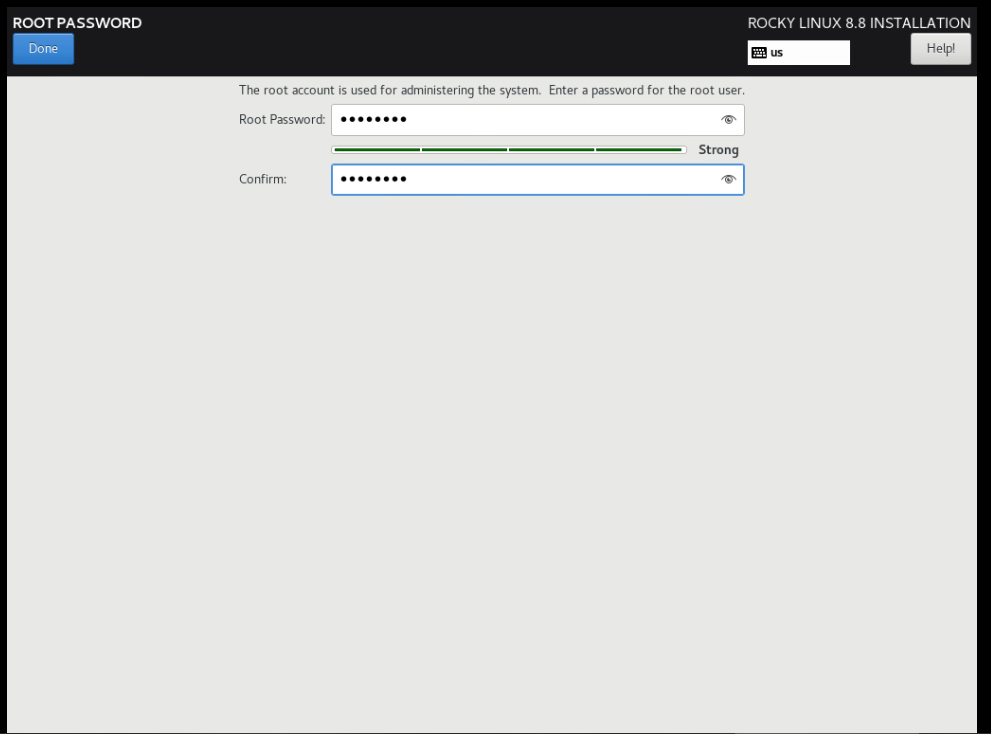
Step07
Set root password
Click on “root password”, configure the root user password and click “done”
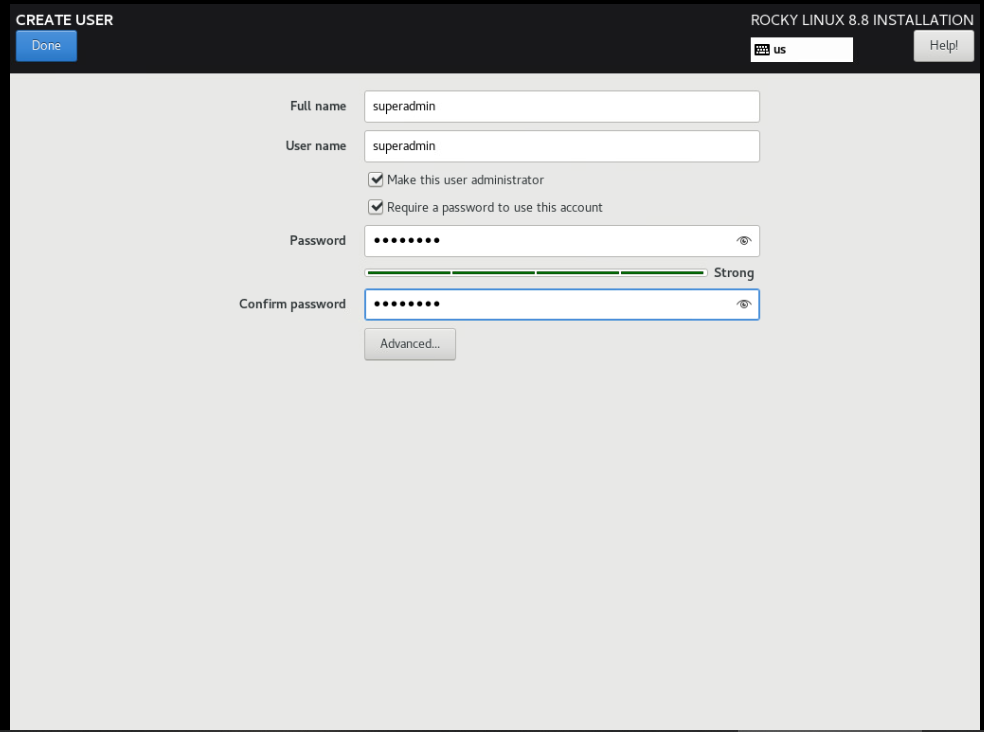
Step08
Set admin user password
Click on “User creation”, configure name of the user, login username, login password, check “make this user administrator”, and click “done”
Step09
Begin the installation
Click “Begin Installation” on the bottom right to start the installation.
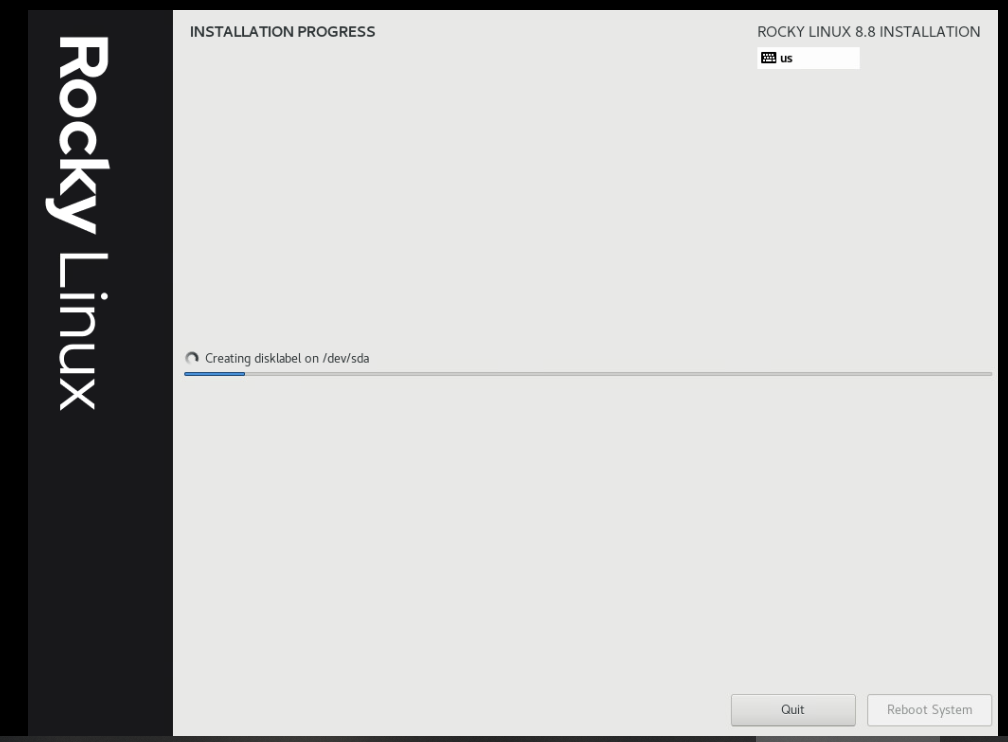
Step10
Let the installation process run
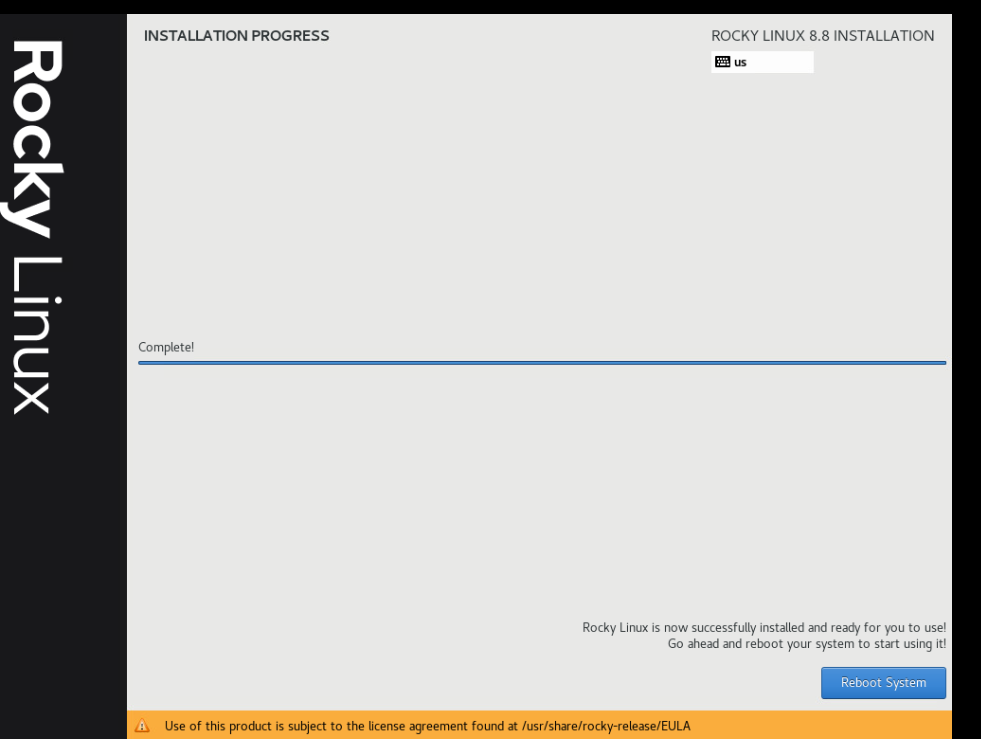
step11
Reboot
When the install finished, click “Reboot System” on the bottom right.
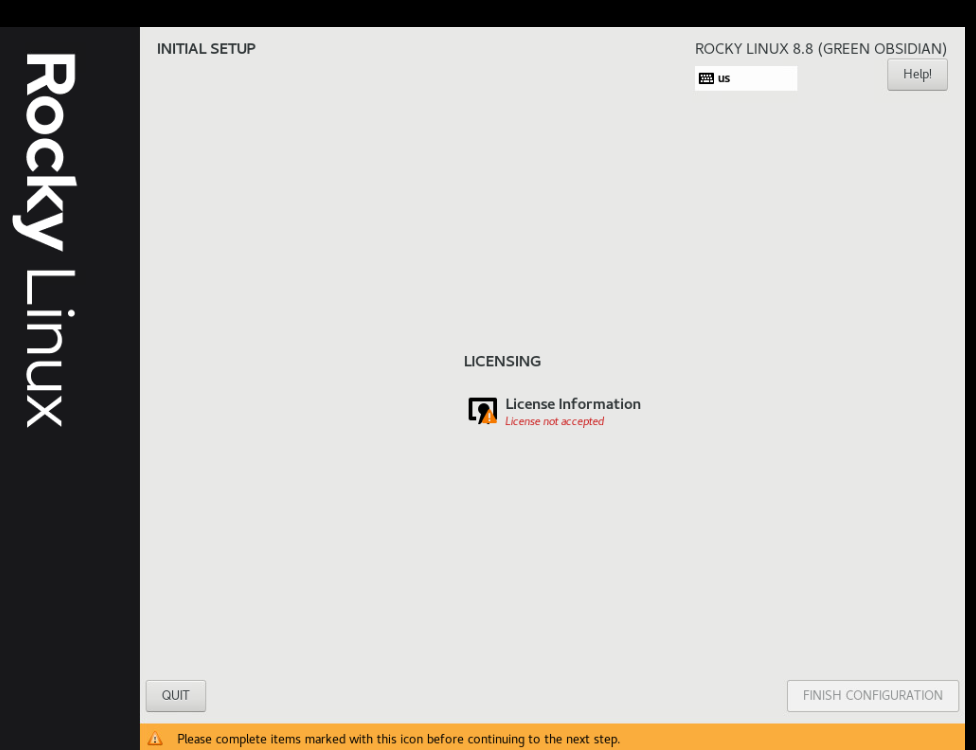
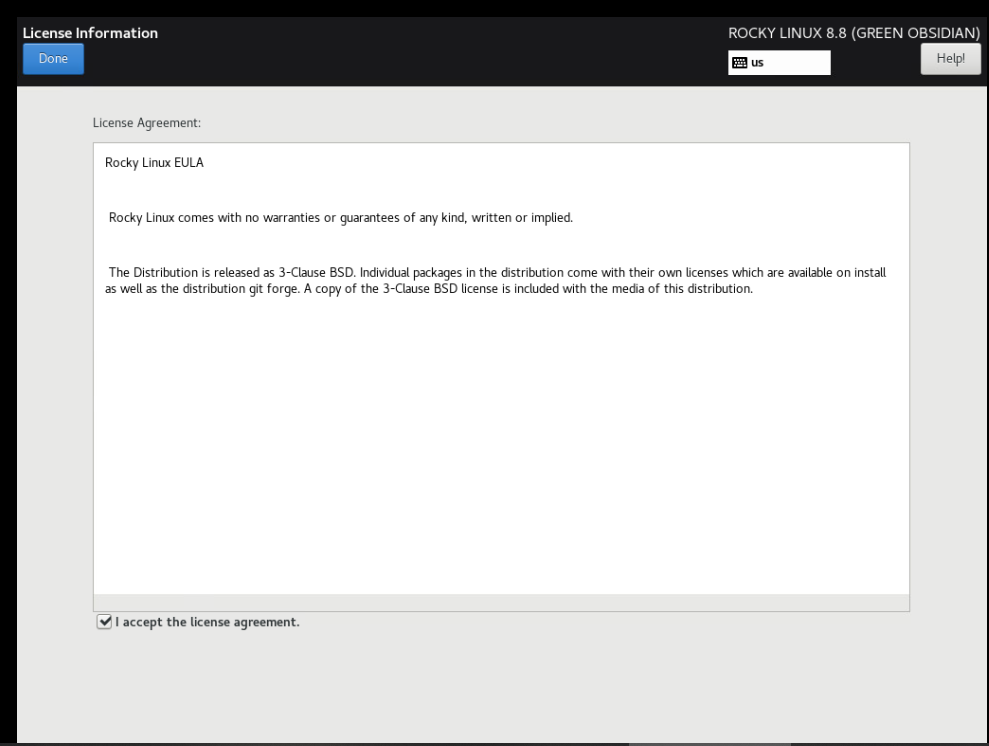
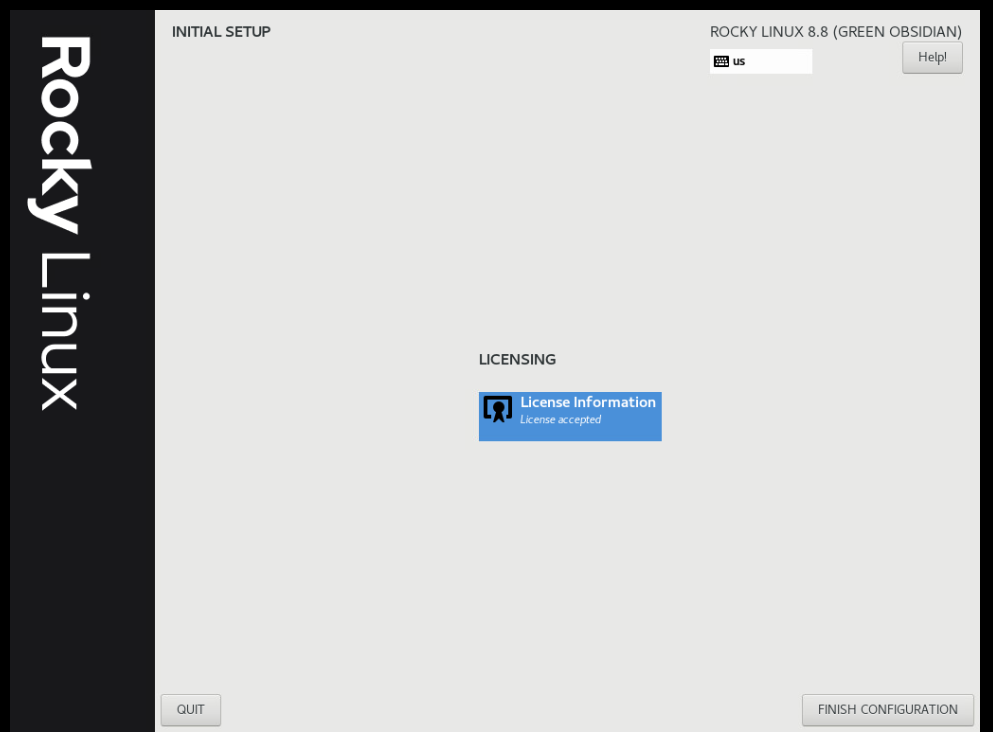
Step12
Accept EULA
Click on “License Information”, check “I accept the license agreement” and click “done”
Step 13
Finished the install
Click on “Finish configuration” on the bottom right
Step14
Login prompt displayed. You have successful installed Rocky Linux.
