Sometimes we might need to set up a DHCP server for our testing. Here is how to set up a simple DHCP server in ubuntu.
Step 01
Update the package repository.
sudo apt update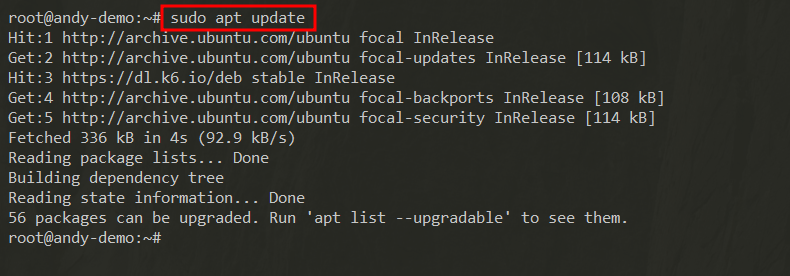
Step 02
Install isc-dhcp-server package.
sudo apt install isc-dhcp-server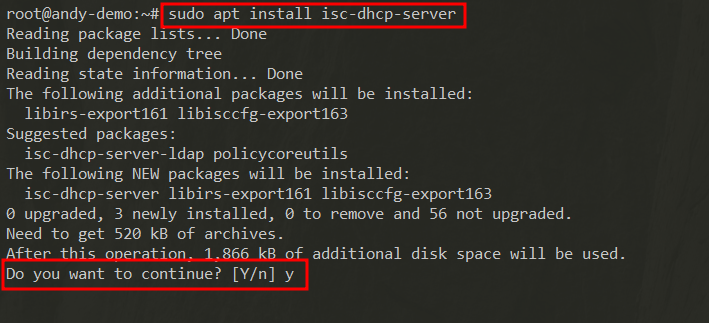
Step 03
Check which interface you want the DHCP server to listen on.
In my example the interface is “enp0s25”.

Step 04
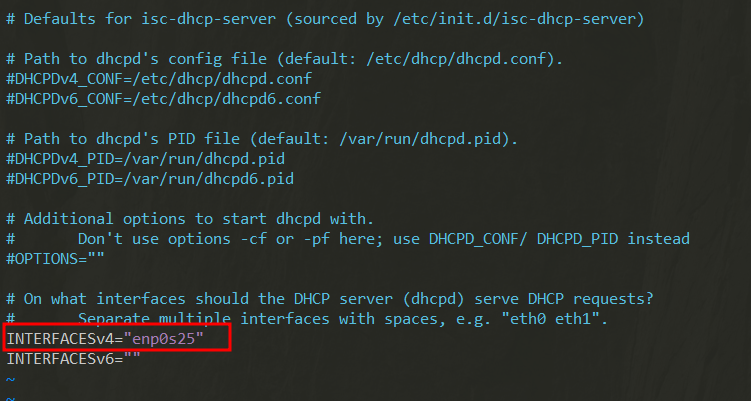
Edit the config file for DHCP listening on.
vim /etc/default/isc-dhcp-server
Step 05
Change INTERFACEsv4’s value to the value on step 03.
Step 06
Edit the DHCP config file.
vim /etc/dhcp/dhcpd.conf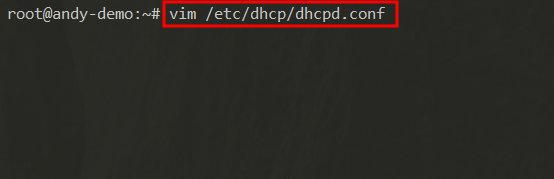
Step 07
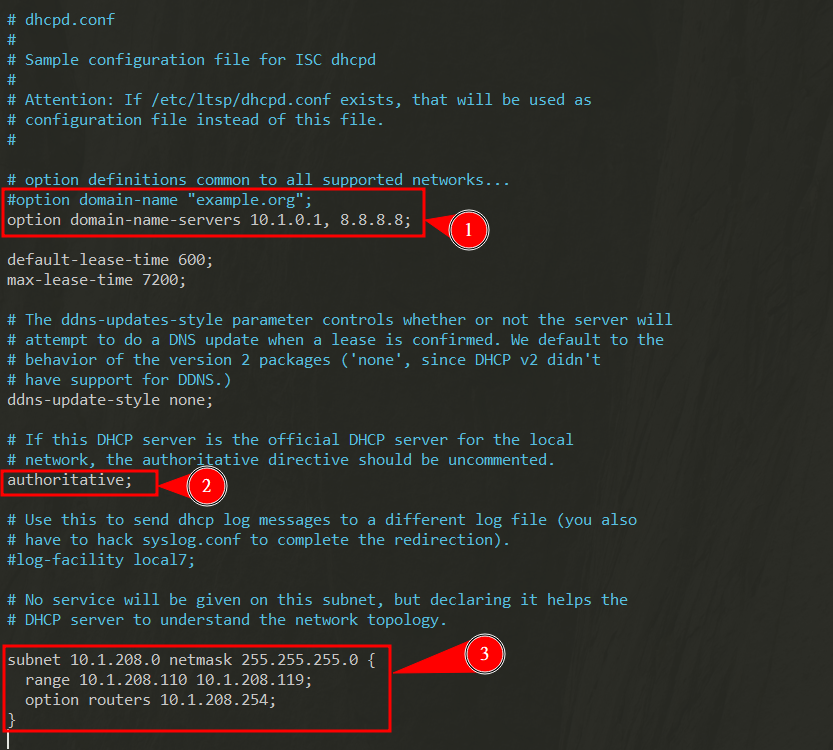
Set up DNS for DHCP client.
option domain-name-servers 10.1.0.1, 8.8.8.8;If the DHCP server is the official DHCP server, uncomment authoritative.(Delete the # on the front.)
Set up the DHCP IP range and default gateway.
subnet 10.1.208.0 net mask 255.255.255.0 {
  range 10.1.208.110 10.1.208.119;
  option routers 10.1.208.254;
}
Step 08
Start the service.
sudo systemctl start isc-dhcp-server
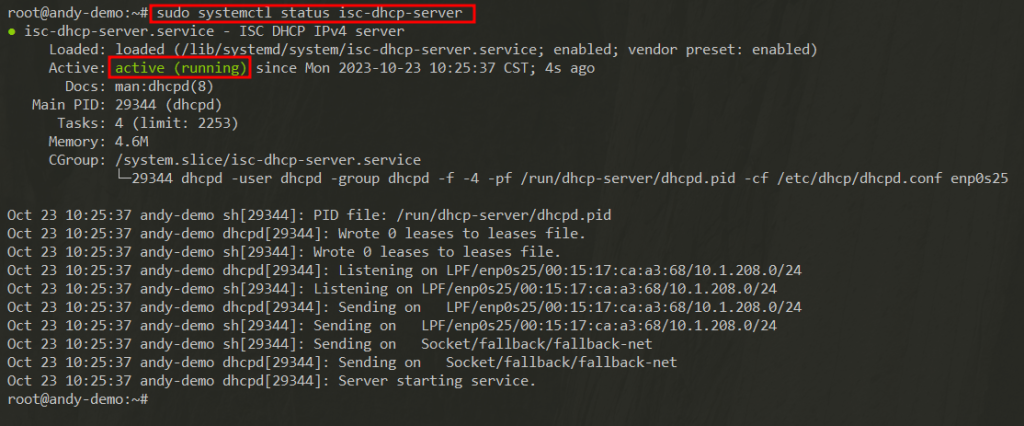
Step 09
Check if the service is running.
sudo systemctl status isc-dhcp-server